CNC Milling Service
Certifications
ISO 9001:215 | AS9100D | ITAR Registered
Jump to Section
- Capabilities
- Materials
- Surface Finishes
- Tour Our Machine Shop
- About CNC Milling
Our CNC milling process produces custom prototypes and end-use production parts in as fast as 1 day. We use 3-axis milling and 5-axis indexed milling processes to manufacture parts from more than 30 engineering-grade plastics and metals. With machined production parts, you can also get more competitive pricing at higher quantities in addition to first article inspection (FAI) reporting, material certifications, and additional finishing options like anodizing and chromate plating.
Our CNC milling service is commonly used for:
- functional prototypes
- jigs and Fixtures
- production components in lower volumes
CNC Milling Design Guidelines and Capabilities
Our basic guidelines for CNC milling include important design considerations to help improve part manufacturability, enhance cosmetic appearance, and reduce overall production time. View our design guidelines page for more details.
Maximum Dimensions
Maximum depth that can be milled is 2 in. (50.8mm) from either side of part. For specific milling dimensions by material, see maximum part extents for machining.
| Material | US | Metric | |
| 3-axis |
| 10 in. x 7 in. x 1.75 in. | 254mm x 178mm x 44.5mm |
| 3-axis |
| 10 in. x 7 in. x 2.75 in. | 254mm x 178mm x 69.9mm |
| 3-axis |
| 10 in. x 7 in. x 3.75 in. | 254mm x 178mm 95.3mm |
| 3-axis** |
| 10 in. x 14 in. x 1.75 in. | 254mm x 356mm x 44.5mm |
| 3-axis** |
| 22 in. x 14 in. x 0.75 in. | 559mm x 356mm x 19.1mm |
| 3-axis** |
| 22 in. x 14 in. x 3.75 in. | 559mm x 356mm x 95.3mm |
| 5-axis |
| 2.6 in. x 2.9 in. x 3.9 in. | 66mm x 73mm 99mm |
*Hard metals: Titanium (6Al-4V), Stainless Steels (303, 304, 316, 17-4PH), Alloy Steel (4140), Carbon Steel (1018)
**Denotes two-sided machining only
Minimum Dimensions
| US | Metric | |
| Size | 0.25 in. x 0.25 in | 6.35mm x 6.35mm |
| Nominal Thickness | 0.040 in. | 1.02mm |
Threading
We currently support UNC and UNF threads from #2 up to 0.5 in., and metric threads from M2 to M12. Avoid modeling internal threads on your part design.
We also offer the following for milled parts:
- Coil inserts
- Key inserts
Tolerances
Typically, Protolabs can hold a machining tolerance of +/- 0.005 in. (0.13mm). Part features are recommended to be thicker than 0.020 in. (0.51mm) in all regions and a nominal part thickness above 0.040 in.
Radii
Sharp inside corners on a part will be radiused (rounded) as a natural result of the CNC machining process. Resulting radii will be identified on your quote.
Text
- Plastic and soft metals: Minimum width of 0.018 in. (0.457mm), depth of 0.0118 in. (0.3mm). Example text size would be 16 point Arial Rounded MT font.
- Hard metals: Minimum width of 0.033 in. (0.838mm) and depth of 0.0118 in. (0.3mm). Example text size would be 22 point Arial Rounded MT font.
- If design permits it, opt for recessed text versus raised
CNC Milling Materials
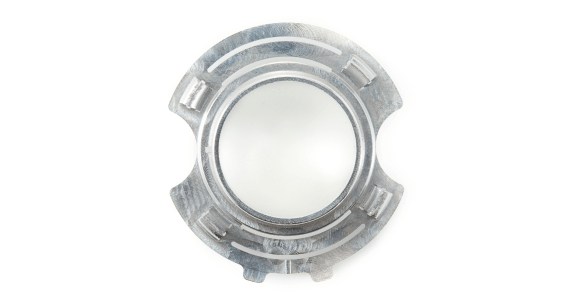
We stock more than 30 production-grade plastic and metal materials that are suitable for various part applications and industries.
- ABS
- Acetal
- CPVC
- HDPE
- LDPE
- Nylon
- PEEK
- PEI
- PET
- PMMA
- Polycarbonate
- Polypropylene
- POM (Delrin)
- PPSU
- PS
- PSU
- PTFE
- PVC
- Aluminum
- Brass
- Copper
- Stainless Steel
- Steel Alloy
- Steel Mild Low Carbon
- Titanium
Surface Finish on Milled Parts
Typically, we break (debur) the edges on all machined parts. All machined plastic parts are left as-machined, which may leave visible tool marks. Some metal parts, on the other hand, allow more choice. Parts left with sharp edges should be handled with care.
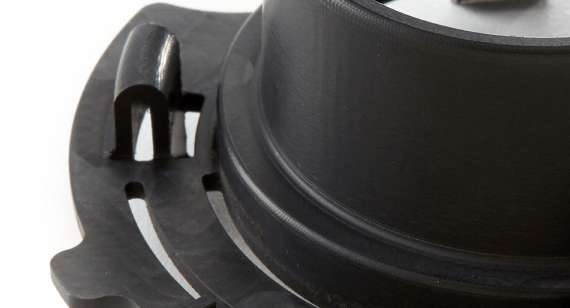
Material: ABS Black
Finish: Broken edge
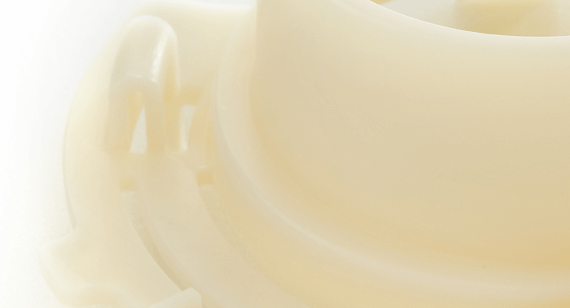
Material: ABS Natural
Finish: Broken edge
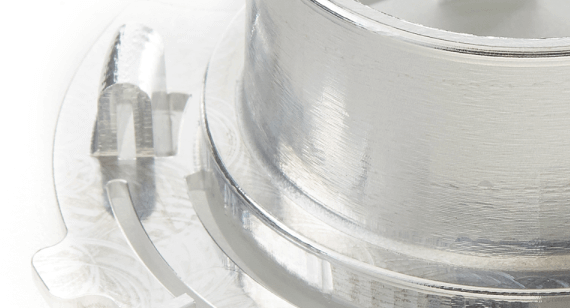
Material: Aluminum
Finish: Broken edge
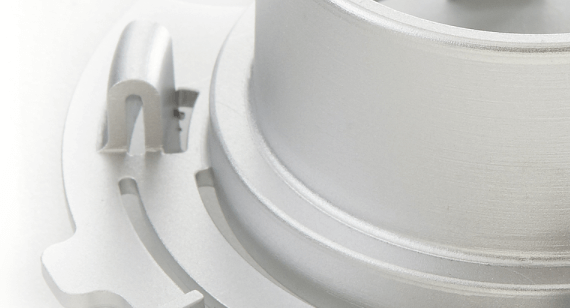
Material: Aluminum
Finish: Bead Blast
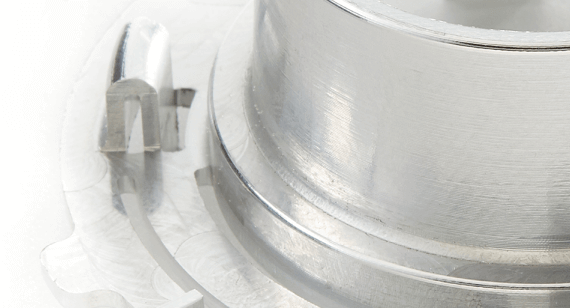
Material: Aluminum
Finish: Sharp edge
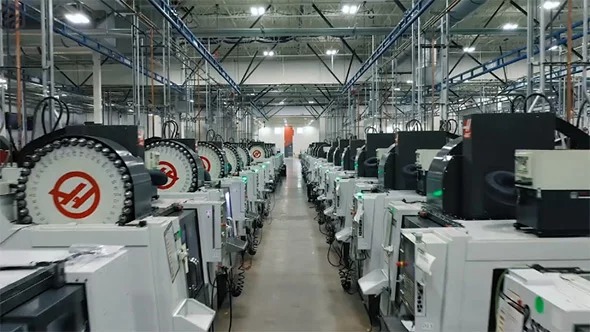
Tour our Digital Machine Shop
Take a quick tour through our 215,000 sq. ft. CNC machining facility in Minnesota to see how we manufacture parts in as fast as 24 hours.
How Does CNC Milling Work?
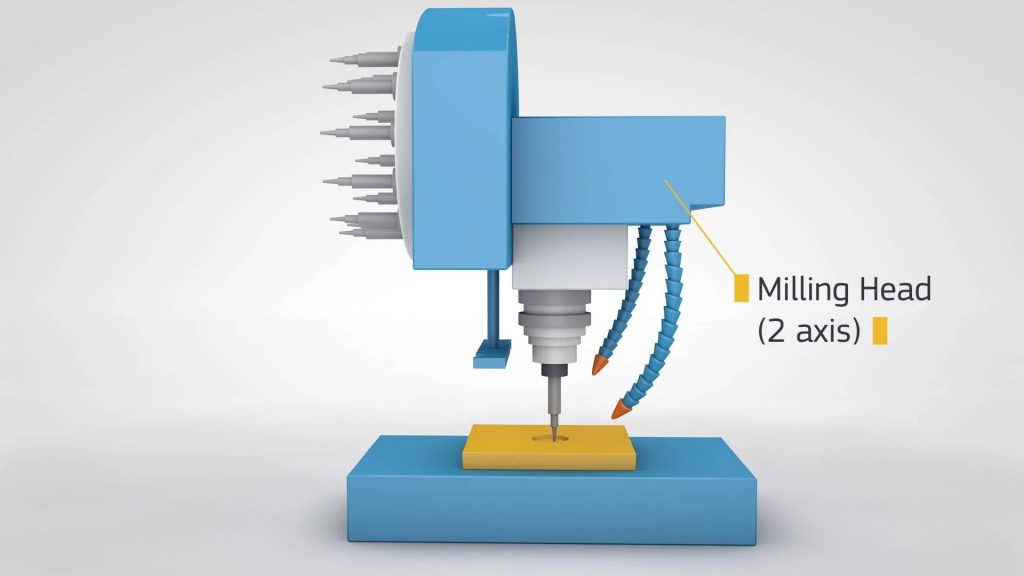
CNC milling is a subtractive manufacturing process. It starts by fixturing a block of metal or plastic material inside the CNC mill. Using G-code, the CNC machine is programmed to rapidly mill out parts from the block of raw material. Our 3- and 5-axis CNC machines are equipped with various toolsets to maximize efficiency and production speed.
Machined plastic parts are left as-milled, which typically means they show visible tool marks. Some metal parts allow more finishing choices like anodizing and chromate plating. When the run is complete and your required surface finish is applied, parts are boxed and shipped shortly thereafter.
